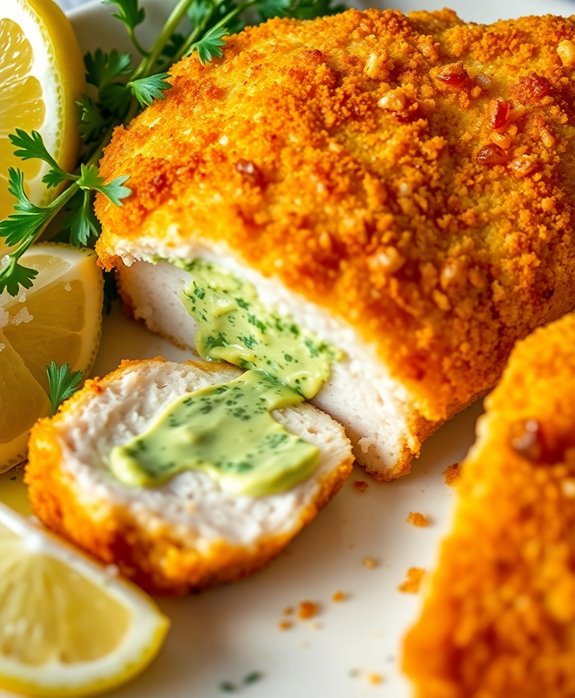
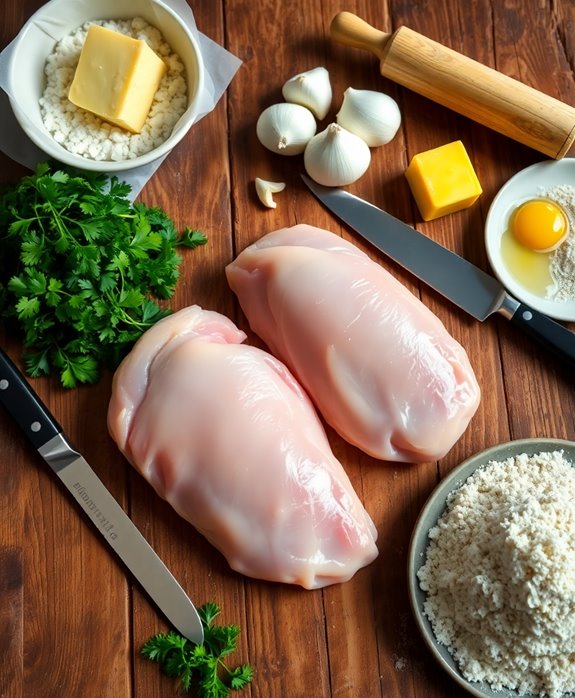
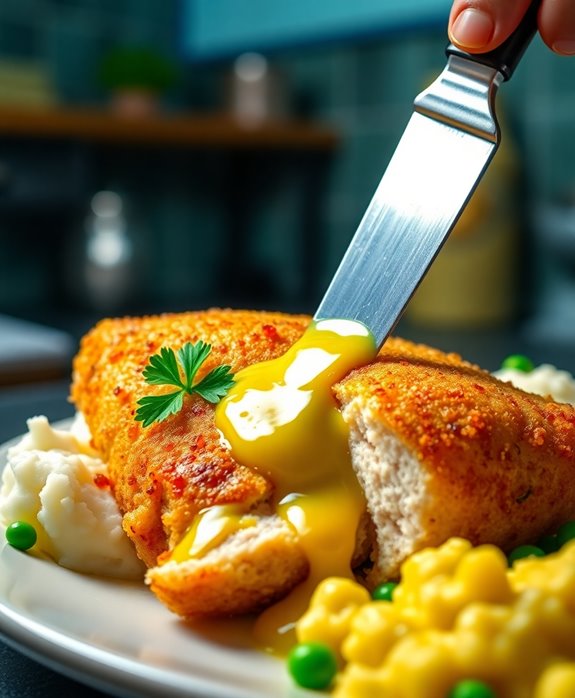
To make classic Chicken Kiev, start by pounding chicken breasts to 1/4 inch thickness and season well. Create a garlic herb butter by mixing butter with garlic, parsley, lemon juice, salt, and pepper; chill this in a log shape. Roll the chilled butter in the chicken, ensuring a tight roll to avoid leaks. For the crispy coating, dip in flour, beaten eggs, and fresh breadcrumbs, then chill for 30 minutes. Fry until golden and finish in the oven at 350°F until cooked through. Let it rest briefly before serving. Discover secrets to perfect your dish further.
Key Components for Chicken Kiev

When it comes to crafting the perfect Chicken Kiev, a few vital elements make all the difference.
First, you want to focus on the chicken breast. It needs to be pounded to an even thickness to guarantee even cooking. This step helps lock in the juices and create a tender bite.
Next, the coating plays a vital role in that satisfying crunch. Use fresh breadcrumbs for the best results. Don't forget the seasoning—salt and pepper go a long way in enhancing flavor.
And finally, the frying technique: pan-fry until golden before finishing in the oven.
Here's a quick checklist to guide you:
- Evenly pound the chicken breast.
- Use fresh breadcrumbs.
- Season generously.
- Pan-fry to golden perfection.
- Finish in the oven for thorough cooking.
Butter Quality Is Essential
When making Chicken Kiev, choosing the right butter is essential for achieving that rich flavor and perfect texture.
Opt for high-fat, unsalted butter to guarantee you get the best taste without any unwanted saltiness.
Always check for freshness to avoid any off flavors that could spoil your dish.
Choose High-Fat Butter
For an authentic Chicken Kiev, choosing the right butter is essential, and high-fat butter is your best bet. It guarantees your dish has the rich, creamy texture that Chicken Kiev is famous for. High-fat butter, typically around 82% fat, not only enhances flavor but also contributes to the decadent mouthfeel that elevates your dish.
When you use high-fat butter, you'll notice it melts more smoothly, providing a luscious center to your chicken.
Additionally, high-fat butter helps maintain the structural integrity of the butter inside as it doesn't break down as easily during cooking. This stability means your Chicken Kiev will have that delightful burst of creamy goodness when cut open.
Opt for Unsalted Butter
While choosing high-fat butter is important, opting for unsalted butter takes your Chicken Kiev to another level. Unsalted butter allows you to control the salt content precisely, ensuring the balance of flavors is just right.
When you use salted butter, you might end up with a dish that's overly salty, masking the delicate flavors of the chicken and herbs. By using unsalted butter, you have the freedom to season your dish as you go, adjusting to your taste preferences.
Moreover, unsalted butter is often fresher than its salted counterpart. Salt acts as a preservative, so salted butter may sit on shelves longer.
With unsalted butter, you're more likely to get a product that's fresh and pure, enhancing the overall taste of your Chicken Kiev.
Ensure Butter Freshness
Freshness matters. When making Chicken Kiev, using fresh butter is essential for achieving that rich, flavorful core. Stale butter can alter the taste and smell of your dish, creating an unpleasant experience. Check the expiration date before you start, and always store butter in the fridge to maintain its freshness.
If you're unsure, a quick sniff will help; fresh butter should smell creamy and sweet.
Select high-quality butter, preferably from a brand you trust. Once you've chosen your butter, wrap it securely in plastic wrap or aluminum foil if it's in use, and keep it in the fridge to prevent absorption of other flavors.
Step-by-Step Instructions

How to Make Chicken Kiev
Step-by-Step Instructions
Creating a delicious Chicken Kiev requires careful preparation and attention to detail. Follow these step-by-step instructions to guarantee a successful dish.
Step 1: Prepare the Garlic Herb Butter
- Action: Mix the ingredients for the garlic herb butter.
- Ingredients/Tools: Unsalted butter (1/2 cup, softened), minced garlic (2 cloves), chopped fresh parsley (2 tablespoons), lemon juice (1 teaspoon), salt and black pepper to taste, mixing bowl, fork or spoon.
- Tip: Make certain the butter is at room temperature to guarantee it mixes well with the other ingredients.
Step 2: Shape the Butter
- Action: Form the garlic herb butter into a log.
- Ingredients/Tools: Cling film or parchment paper.
- Tip: Roll the butter tightly in the film or paper to avoid air pockets. Place in the fridge to firm up for at least 30 minutes.
Step 3: Prepare the Chicken Breasts
- Action: Flatten the chicken breasts.
- Ingredients/Tools: Boneless, skinless chicken breasts (4), plastic wrap, meat mallet or rolling pin.
- Tip: Place the chicken breasts between two sheets of plastic wrap to prevent tearing, and flatten to about 1/4 inch thickness.
Step 4: Assemble the Chicken Kiev
- Action: Encase the butter in the chicken.
- Ingredients/Tools: Chilled garlic herb butter, salt, pepper.
- Tip: Season the inside of the chicken with salt and pepper before placing the butter log in the center. Roll the chicken tightly around the butter, guaranteeing the ends are folded in to prevent leakage.
Step 5: Coat the Chicken
- Action: Bread the chicken rolls.
- Ingredients/Tools: All-purpose flour (1/2 cup), beaten eggs (2), breadcrumbs (1 cup), shallow dishes, baking sheet.
- Tip: Dip the chicken rolls in flour first, then eggs, and finally breadcrumbs. Guarantee each layer is even for the best coating.
Step 6: Chill the Chicken Rolls
- Action: Refrigerate the breaded chicken.
- Ingredients/Tools: Refrigerator, baking sheet.
- Tip: Chill the rolls for 30 minutes to help the coating adhere and prevent the butter from leaking out during cooking.
Step 7: Cook the Chicken Kiev
- Action: Fry and bake the chicken.
- Ingredients/Tools: Vegetable oil for frying, oven, frying pan, baking tray.
- Tip: Preheat the oven to 180°C (350°F). Fry the chicken rolls in hot oil until golden brown on all sides, then transfer to a baking tray and bake for 15-20 minutes to guarantee the chicken is cooked through.
Step 8: Serve
- Action: Plate and garnish the Chicken Kiev.
- Ingredients/Tools: Fresh parsley, lemon wedges (optional).
- Tip: Let the chicken rest for a few minutes before slicing to allow the juices to redistribute. Garnish with parsley and serve with lemon wedges for added flavor.
Butter Stuffing Creation
To create the perfect butter stuffing for your Chicken Kiev, start by gathering high-quality ingredients to guarantee a rich and flavorful filling. You'll need unsalted butter, fresh parsley, garlic, lemon juice, and a pinch of salt and pepper.
First, soften the butter in a bowl, making sure it's not melted. Finely chop the parsley and mince the garlic, then add both to the butter. Squeeze in a few drops of fresh lemon juice for a hint of acidity.
Season with salt and pepper, and mix everything thoroughly until combined. Shape the butter mixture into a log, wrap it tightly in plastic wrap, and refrigerate until firm.
This step guarantees the butter retains its shape during cooking, offering a burst of flavor.
Oven-Bake for Crispy Texture
With your flavorful butter stuffing ready and chilled, the next step is to guarantee a crispy texture by oven-baking your Chicken Kiev.
Preheat your oven to 400°F (200°C). While it heats up, coat the stuffed chicken breasts in flour, dip them in beaten eggs, and roll them in breadcrumbs to ascertain an even crust.
Place the coated chicken on a baking sheet lined with parchment paper, leaving some space between each piece for even cooking.
Bake the Chicken Kiev in the preheated oven for 20-25 minutes. Halfway through, turn them over to ensure both sides get crispy.
Use an instant-read thermometer to check the internal temperature, aiming for 165°F (74°C). Once done, let them rest for a few minutes before serving.
Enjoy your perfectly crispy Chicken Kiev!
Calorie Content and Serving Size
Understanding the calorie content and serving size of Chicken Kiev is essential for maintaining a balanced diet. Typically, one serving of Chicken Kiev contains around 400-500 calories. This includes the chicken breast, butter filling, and breadcrumb coating. If you're watching your calorie intake, consider serving it with a side of vegetables or a simple salad to keep the meal balanced. Portion control is vital, so try not to exceed the recommended serving size.
Here's a quick breakdown:
| Component | Approx. Calories |
|---|---|
| Chicken Breast | 200 |
| Butter Filling | 100 |
| Breadcrumb Coating | 150 |
| Total | 450 |
Conclusion
You've just revealed the culinary magic of Chicken Kiev! With its heavenly blend of buttery goodness and crispy perfection, this dish is an epic adventure for your taste buds. You'll feel like a gourmet chef in your own kitchen as that golden crust gives way to the juiciest chicken you've ever tasted. It's not just a meal; it's an unforgettable masterpiece! So, grab your apron and create a dinner that will have everyone begging for seconds.
